
Check out these fun and festive holiday nail designs from Bellacures (multiple locations).
1. Abstract Glitter French Tip
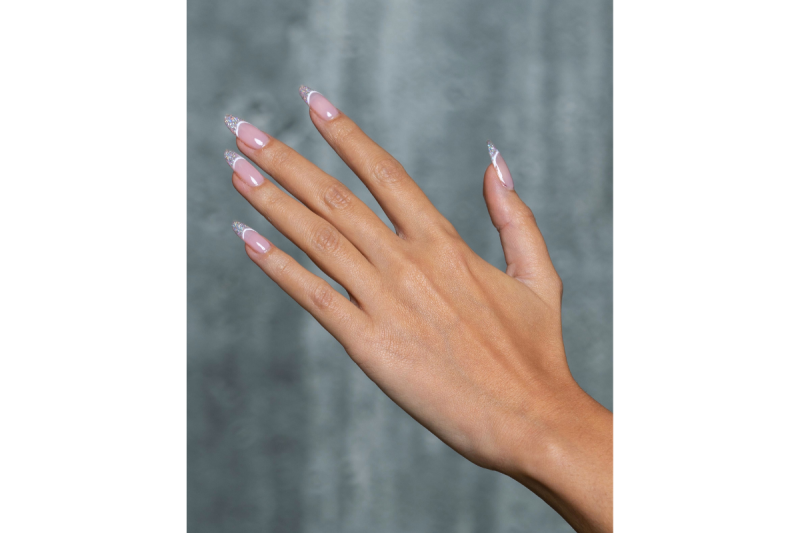
Colors Used: OPI Baby Take a Vow, OPI Alpine Snow, and OPI Nail Polish Dreams On A Silver Platter
Begin by giving nail beds some TLC with some cuticle care, and filing nails into an almond shape. Once the desired shape is achieved, apply two coats of a sheer pink base color. This color can vary from person to person based on skintone, and what pink you deem to be your perfect base color. Once this has dried, begin on the design for this fun rendition of a glitter French tip. Using a thin brush take a white polish and draw a curved line about ⅔ way up the nail bed. Repeat this process on the rest of the nails. For the last step of the desig,n finish with a thin layer of silver glitter nail polish on the other ⅓ of your nail above the white line. Once dry, apply a clear topcoat to the full nail for maximum shine, and finish off with cuticle oil.
2. Red French Tip with Santa Hat Design
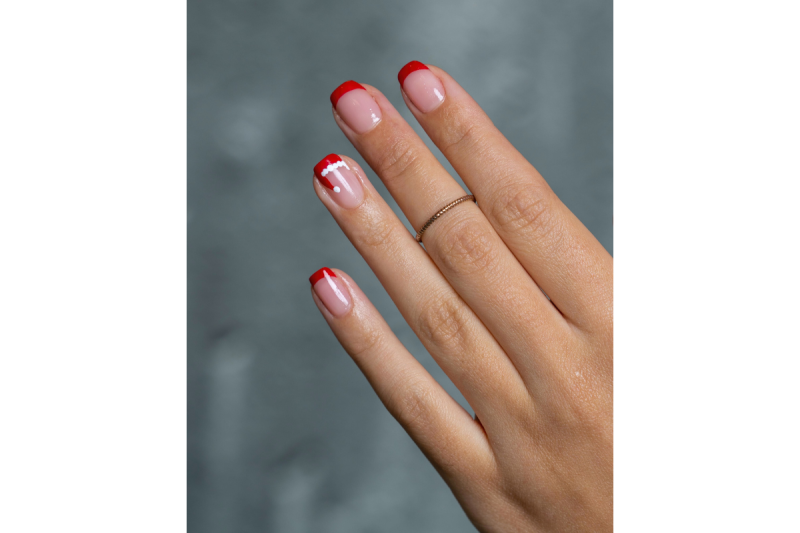
Colors Used: OPI Baby Take A Vow, OPI Big Apple Red, OPI Alpine Snow
Once you’ve completed your cuticle care, begin by shaping your nails into the universally flattering “squoval” shape. Once your shaping is complete, apply two coats of a sheer pink polish to the base of your nails. Allow this to dry, and begin on the design by taking a thin brush and applying your favorite holly jolly red color to the tips of your nails. For the most precise application, slow and steady brush strokes will have your application looking flawless each and every time. Once you have outlined the top, make sure to go back in with a second coat to make sure your tips are as bright as possible. With that same brush, take your ring finger and draw a diagonal triangle from the corner of your nail bed to midway down your nail. Drag back up in the same diagonal motion--this will be the basis for the Santa hat. Next, take a dotting tool with your favorite white polish, and dot this along the base of the red hat. Top it off with one dot of white on the tip of the triangle. As always, apply a clear top coat for maximum shine, and finish off with cuticle oil for a hydrated, fresh manicured look.
3. Nude with Glitter Snowflake Design
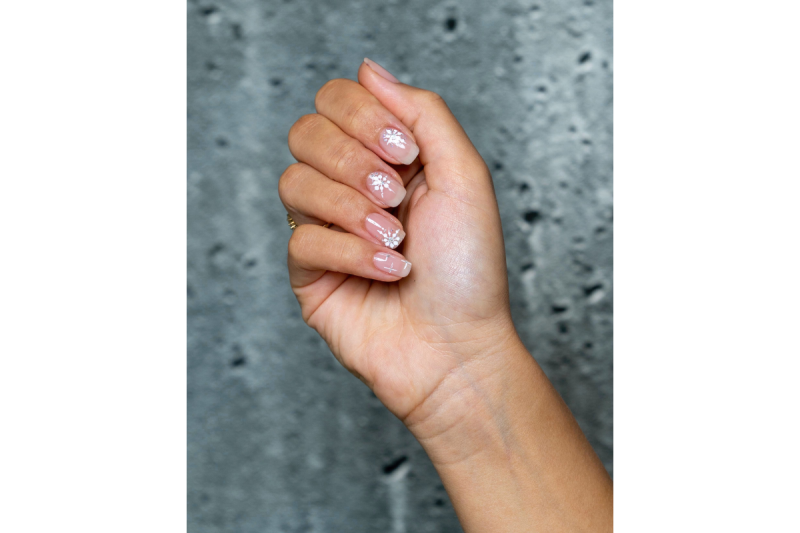
Colors Used: OPI Put it in Neutral, OPI Alpine Snow, and OPI Nail Polish Dreams On A Silver Platter
Once you’ve completed your cuticle care, file nails into a square shape with slightly rounded edges. Next, paint the base of the nail beds with one coat of a sheer nude polish. Once nails have dried, begin on the snowflake design. Put white polish on a dotting tool, and place one dot where you would like the middle of your snowflake to begin. Similar to how you would create a flower design, dot around the middle circle until fully surrounded. Depending on your preference you can place additional dots to create a bigger or smaller snowflake. Next, with a thin brush lightly drag the polish from the center dot outward through the other dots to create that perfect snowflake effect. Once this has dried, take a glitter polish and lightly dab it on toward the center of the design where the middle dot is placed. To finish off the look, apply a top coat for maximum mani shine, and to minimize the likelihood of chipping. Finish off with some cuticle oil.